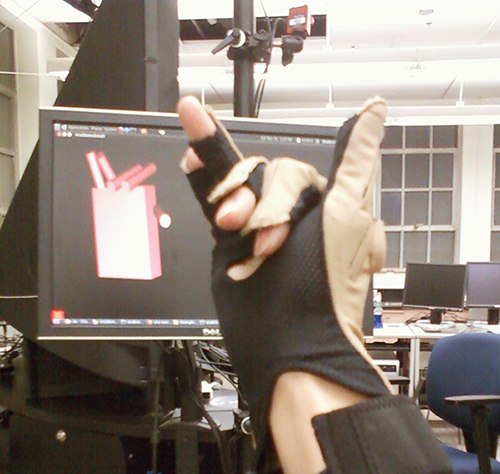
Most of open-source VR frameworks like Vrui, or FreeVR are on Linux. Only VRJuggler is the exception that runs on both Windows and Linux. The problem is, at the moment, CyberGloves only run on Windows and these frameworks do not support CyberGloves. This entry will show you how to make CyberGloves work with Vrui via VRPN.
I have CyberGloves II installed on my Windows7 64-bit and Vrui 2.7 installed on Ubuntu 12.04.
First of all, you need to install CyberGloves and confirm it’s running by testing on Device Configuration Utility. When the fingers move, you’d need to see the fingers in your hand models move correspondingly as well:
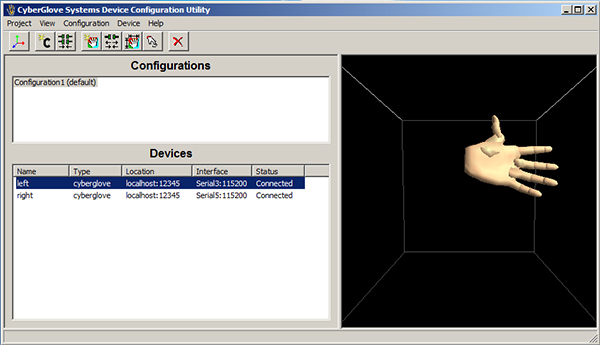
CyberGloves Device Config Utility
Note that I have my Left glove connected to Serial3, and Right glove connected to Serial5. You will need these ports later on.
Now we need to write a VRPNServer that reads from these ports and send data to a VRPNClient already built in Vrui on another Linux machine. Here is my very simple working server based on the tutorial by Sébastien Kuntz. It basically reads and transfers 30 analog values for 30 joint angles via default port 3883.
If you open vrpnServerSimple.sln using Visual Studio (mine is VS2010), scroll down to line 103:
myAnalog::myAnalog( vrpn_Connection *c /*= 0 */ ) : // vrpn_Analog( "Analog0", c ) vrpn_Analog( "CyberGloves", c ) { vrpn_Analog::num_channel = 30; // Number of analog values, adjustable.You can modify "CyberGloves" to be any string that matches your senderNames value declared in your VRDevices.cfg. Now try to rebuild the vrpnSimpleServer project, if it fails, you need to check if the project is linked to the correct location of your CyberGloves installation.
Make sure the directories and files in these three settings exist on your system, modify to match your CyberGloves installation:
- C/C++ --> General --> Additional Include Directories (see below picture)
- Linker --> General --> Additional Library Directories
- Linker --> Input --> Additional Dependencies
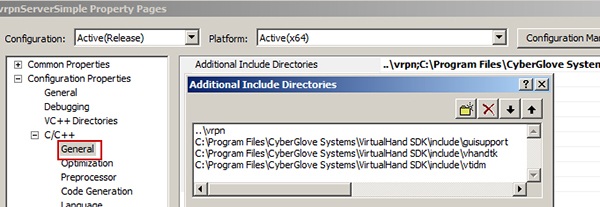
VS 2010 Project Configuration
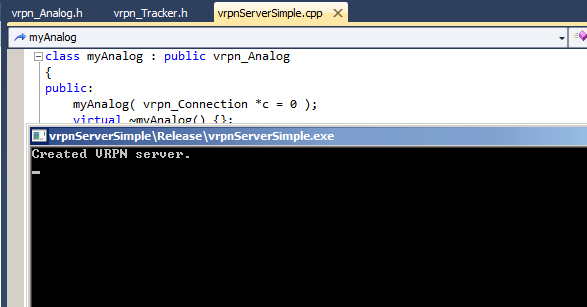
Now you should be able to build the project. Running it would show:
The last step now is configure your VRDevices.cfg to listen to this VRPNServer. Make sure you configure the following settings properly:
- serverName // IP of your CyberGloves machine
- senderNames // The name you assigned in the previous step above
- serverPort // This is set by default as 3883 in our vrpnSimpleServer
- numberValuators // 30 in this case as we are sending 30 joint angles from CyberGloves
Here is my simple VRDevices.cfg for this CyberGloves tutorial:
# CyberGloves over VRPN by Anh Nguyen (Totti).
section "localhost"
   section DeviceManager
      deviceNames (CyberGloves)
      section CyberGloves
           deviceType VRPNClient
           serverName 10.2.202.66 # IP of CyberGloves machine
           serverPort 3883 # Defined in vrpnSimpleServer.cpp as 3883 (default value)
           senderNames (CyberGloves) # Name of connection defined in vrpnSimpleServer.cpp

           section CyberGloves
                numValuators 30 # Expecting 30 analog values from VRPNServer
           endsection
      endsection
   endsection

   section DeviceServer
      serverPort 8555
   endsection
endsection
After configuring correctly, if you run VRDeviceDaemon, it should show 30 valuators.
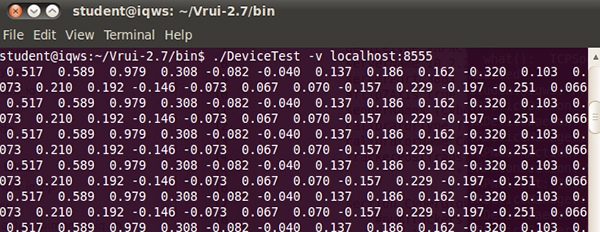
Now we can test if the values reach Vrui's VRPNClient using VRDeviceTest (located in your Vrui installation):
Woohoo ! Now we can use these sensor values to draw a hand model or create our own gestures in Vrui ! :)
Cheers :D
